Hmm...

DIY, food, hacking and many more.

  1. Für Elise played by a CNC machine

    Date:
    Tags: DIY CNC

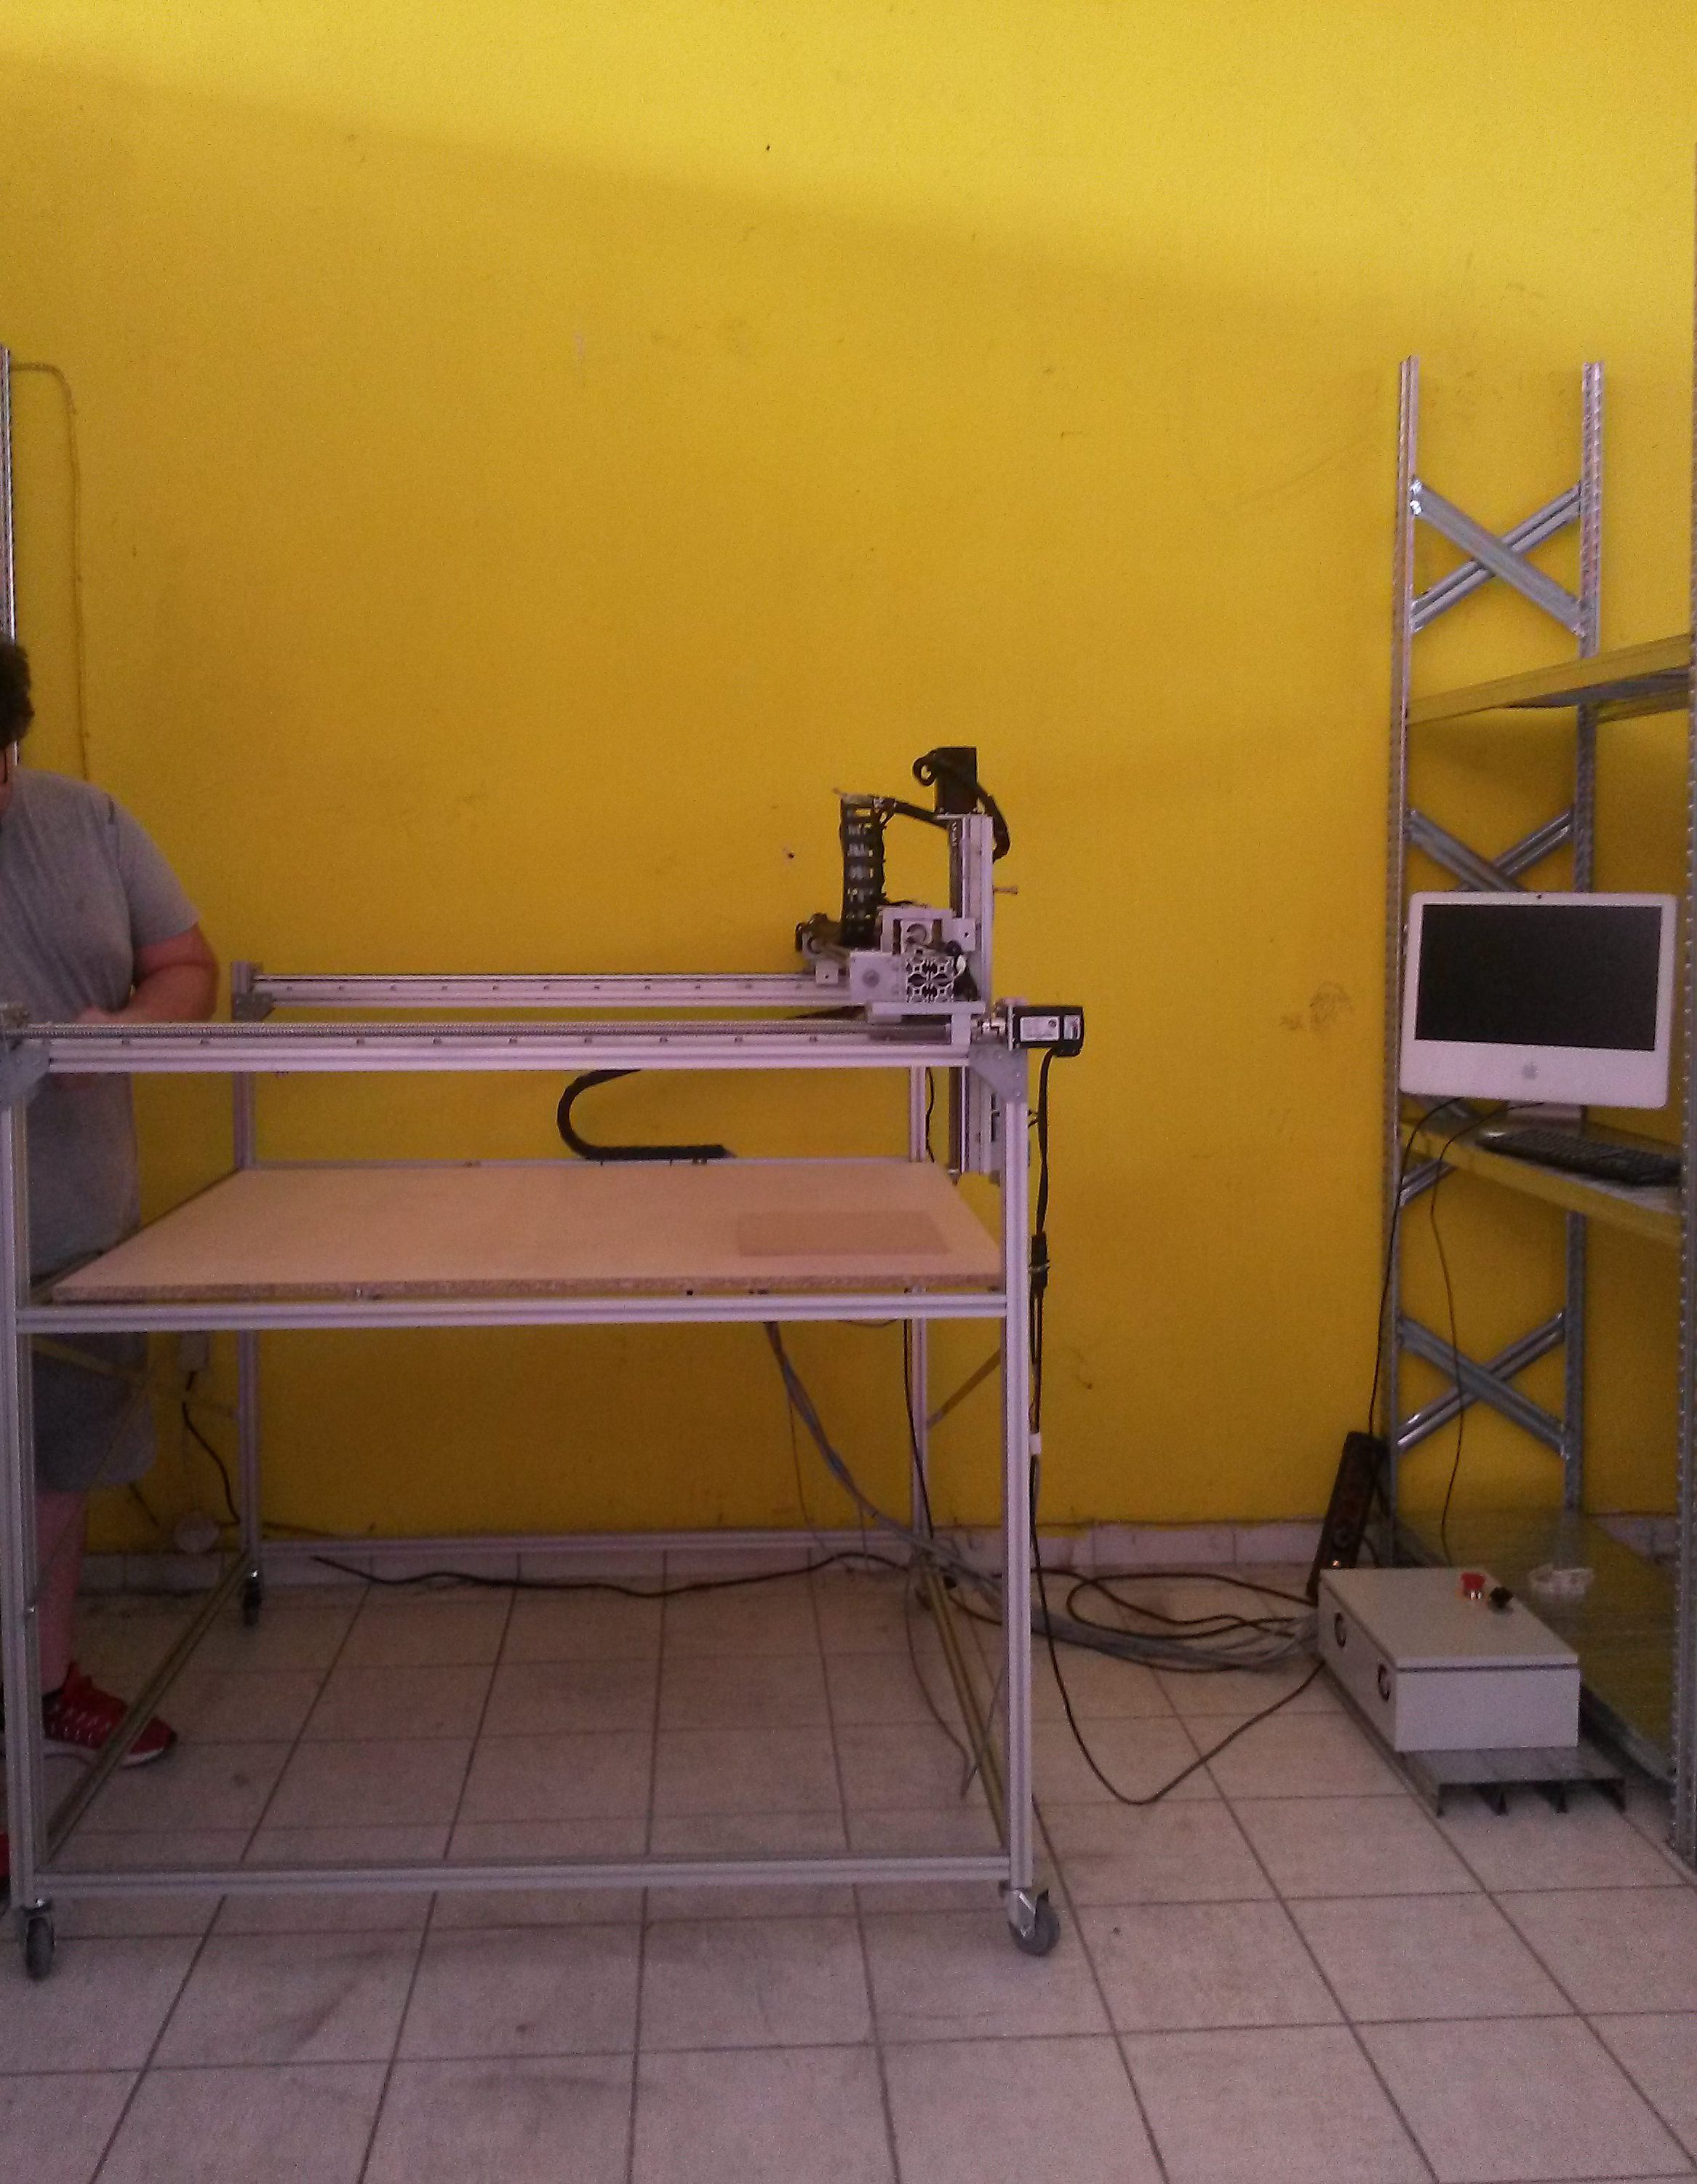
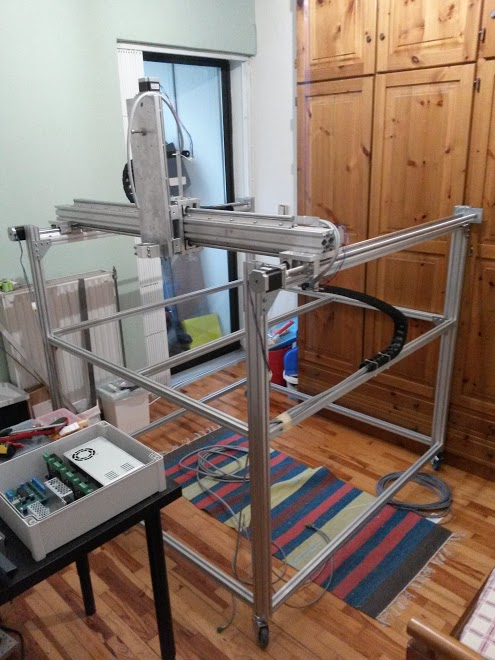
    A couple of weeks ago I have finished building the latest version of my CNC machine. In size, this new CNC machine is a few cm bigger than the typical small square IKEA tables. The purpose of building it, was to have a test-bed for improvements, but also to have a CNC at home for making parts for my future projects.

    Some of the improvements I have in mind are the integration of more tools for my CNC machines, like laser engraver, tangential knife, etc. Currently the supported tools are Kress spindles and also those typical Chinese…DC powered…air cooled…shitty spindles for milling, as well as Mk8 extruders for 3D printing.

    Another thing that needed testing was some new features and improvements I was planing for the firmware of the controller and the controller itself. One of them was to improve the communications between the PC and the controller, by implementing a command queue on the controller. This allows the CNC machine to execute g-code commands one right after the other. In previous versions of the firmware the controller was executing a command and then it was waiting for a few milliseconds for the next command to arrive.

    So after implementing this command queue, I had the opportunity to also do another sub-project I had in mind for quite some time, which was to make the CNC play music. I wrote a small python script, that translates note-duration pairs into feed-rate and distance pairs and generating a g-code file that when executed makes the CNC sound like a playing music. I uploaded a small video of a little demonstration on YouTube, which you can see bellow.

    Enjoy! 🙂
  2. Tsoureki

    Date:
    Tags: Food

    Tsoureki is a traditional sweet bread we make in Greece during Xmas and Easter. It is a cousin of challah. It definitely is braided, which is something common. But we put milk instead of water and knead it with butter. A major difference is that we add some spices, which are traditionally orange zest, ground kardamon seeds and ground Mahleb seeds (in some parts of Greece they use ground resin from Mastic trees instead which is a completely different aroma).

    Ingredients:

    • 360g Sugar
    • 1Tbsp Orange zest
    • 4g Ground Kardamon seeds
    • 4g Ground Mahleb seeds
    • 1tsp Salt
    • 1Tbsp oil (Sunflower or other “light” not too aromatic oil, definitely NOT olive)
    • 250ml Milk
    • 4 Eggs
    • 1Kg Flour (Prefer a strong flour with high gluten content)
    • 200g Butter
    • 100g Fresh yeast (or the analog in dry yeast)
    • 1 Egg yolk to brush

    Steps:

    1. Mix sugar, orange zest, spices, salt and oil in a mixing bowl.
    2. Heat the milk to lukewarm.
    3. Get some of the milk and dissolve the yeast.
    4. Bring the rest of the milk to simmer and then add it to your Sugar mix and stir them together. This should warm up all these ingredients.
    5. Add the dissolved yeast.
    6. Add the eggs and continue stirring. You should have a slurry by that time.
    7. Mix in the flour gradually. This will get you to a very wet very sticky dough.
    8. Melt your butter and start adding it gradually to your dough, while kneading-folding. At some point the dough will absorb all the butter and stop sticking to your hands or mixing bowl. Do 3-4 more folds after that. Don’t expect your dough to be too firm. It’s fine.
    9. Cover the dough and let it sit for 2-3 hours or until it is doubled in volume. Ideally leave it overnight.
    10. Form the dough into braided loaves. Brush them with egg yolk and let them rest for an hour or so. We usually put some almonds as decoration before baking (Blanch the almonds to get rid of their skin if you do that, to make them look nice). Especially for Easter some decorate them with Easter eggs.
    11. Bake them at 170-180 C for about 40 minutes.

    You can see pictures here

  3. A big 3D printer

    Date:
    Tags: DIY CNC

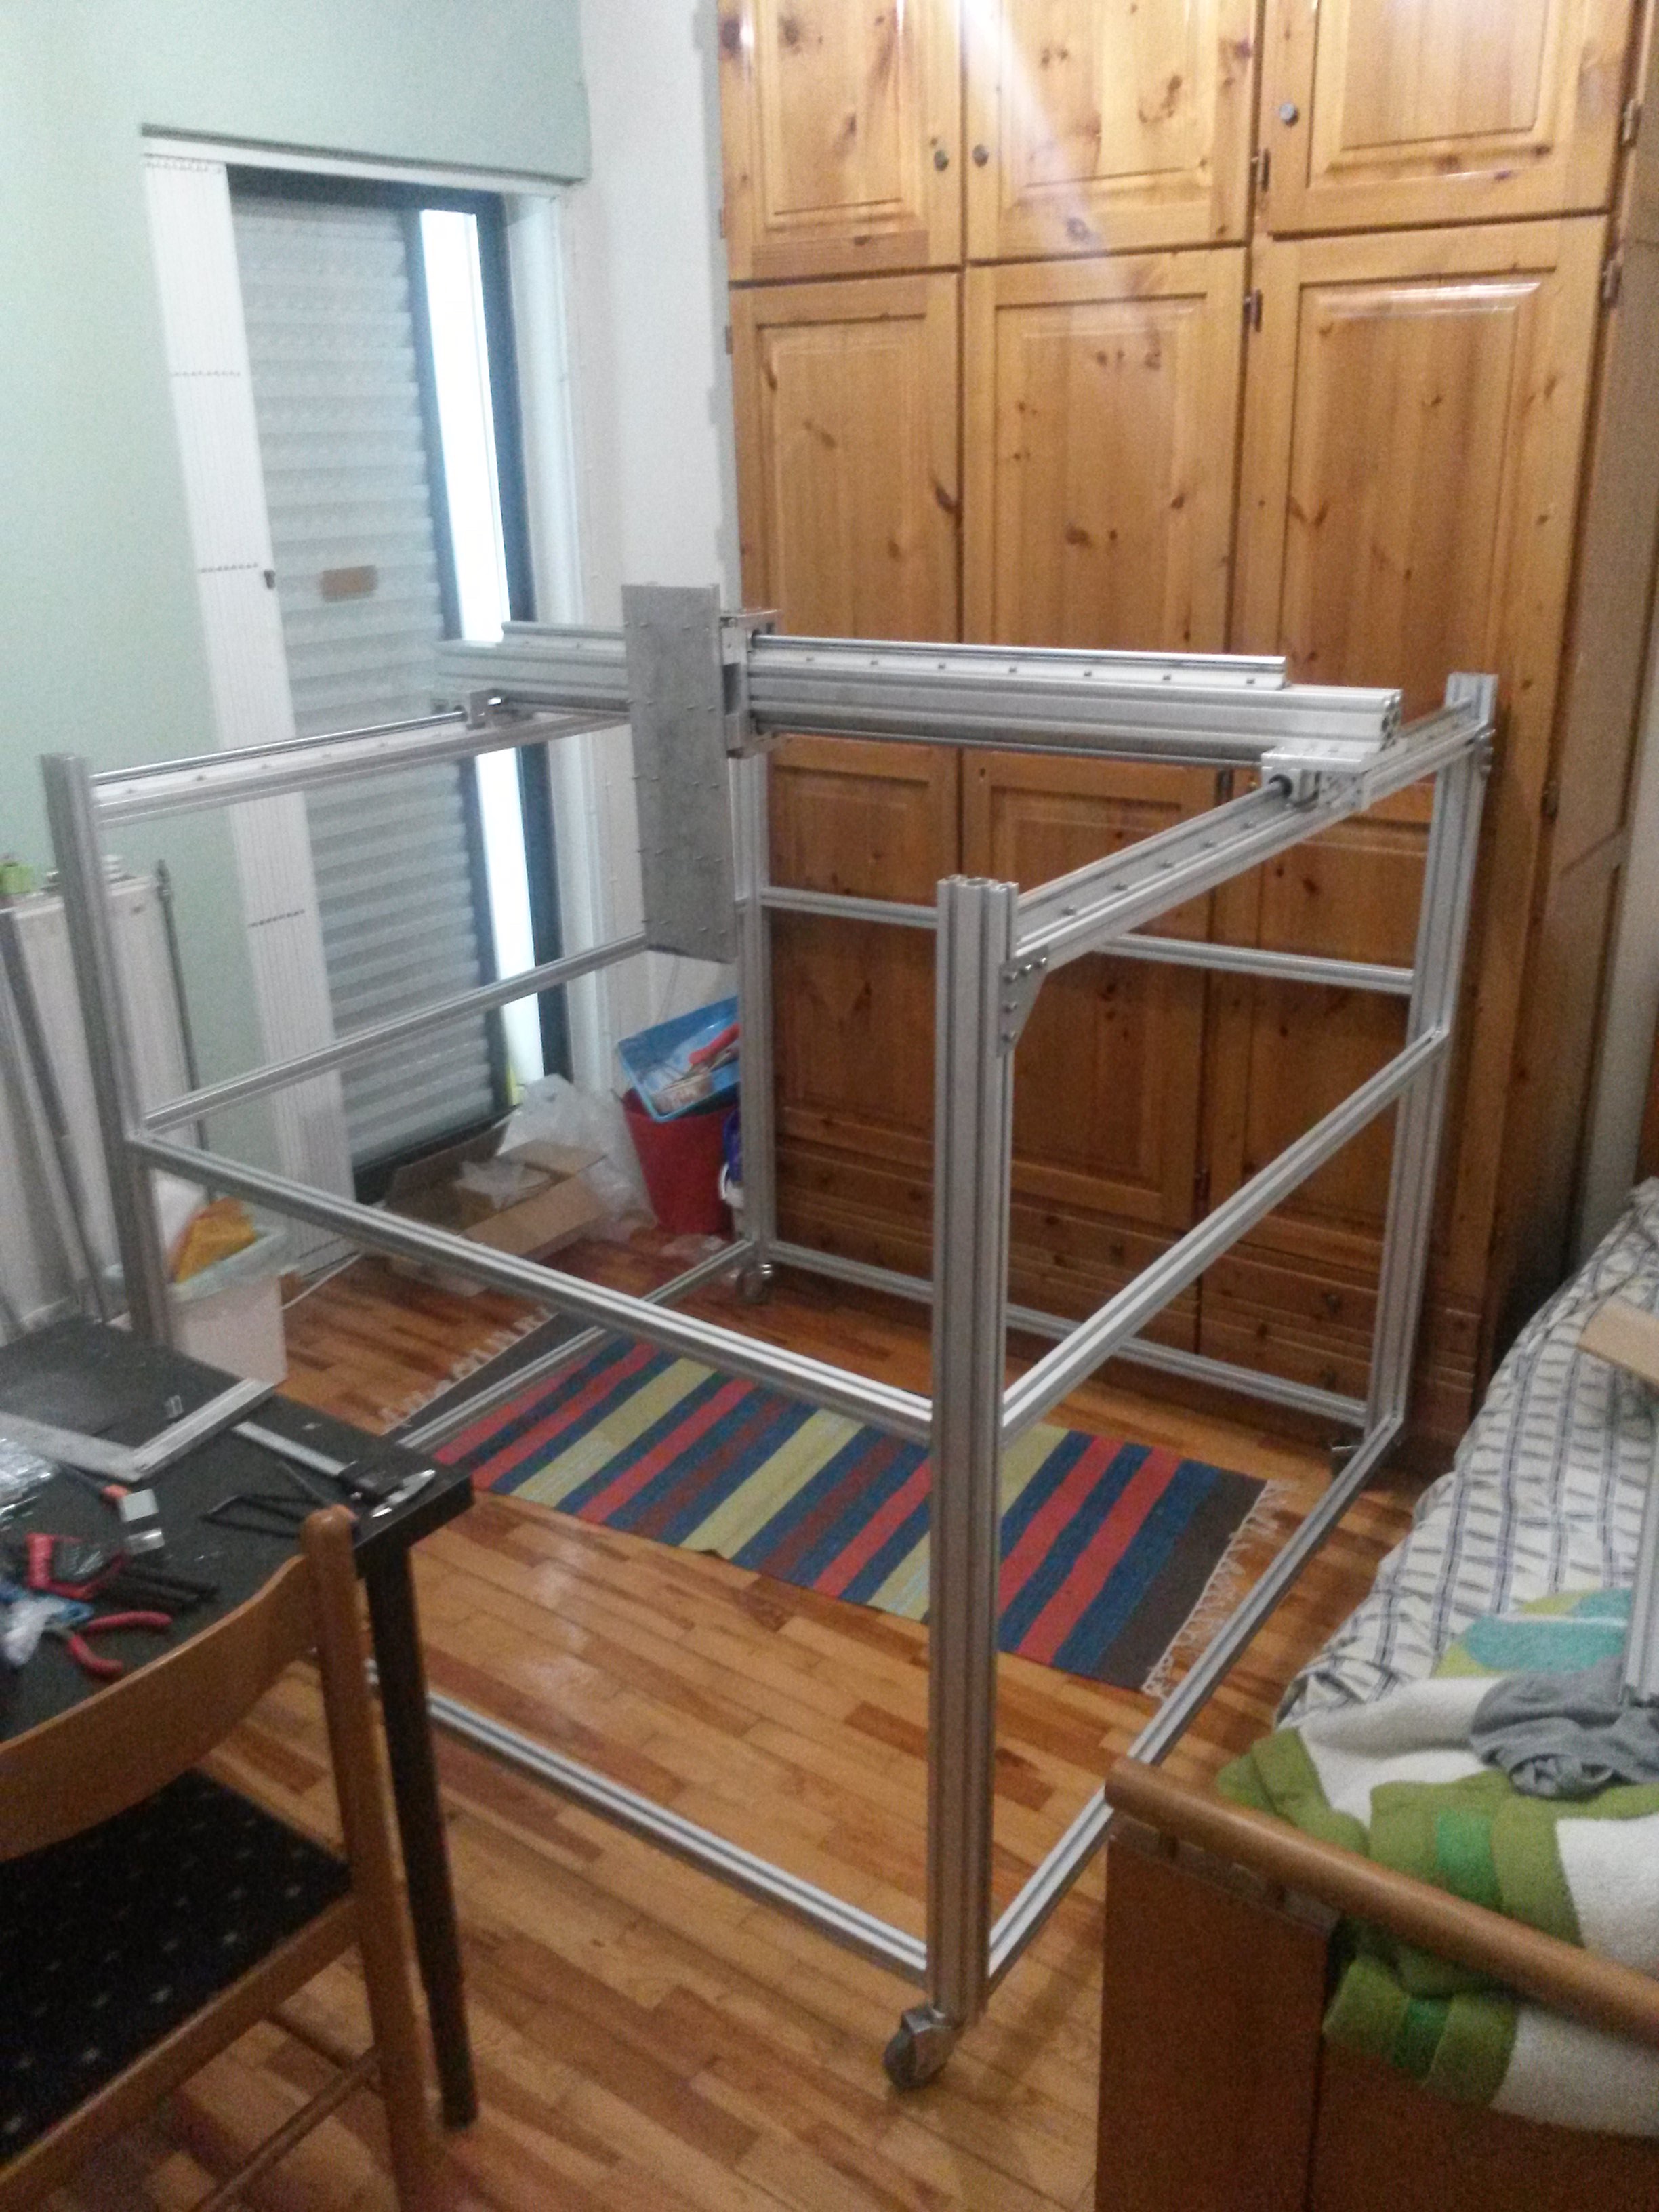
    During the last 12 months I have designed and built a big CNC milling machine and 3D printer for a customer. The maximum work area of the machine is a bit more than 1m by 1m in X and Y axis and up to 30cm in Z-axis. The Z-axis carriage can accept either a spindle for milling or an extruder for 3D printing.

    It was a good opportunity to consolidate things that I learned by building my small crude CNC machines and to go a step further. Currently I am designing another version with similar design, but with smaller dimensions (roughly about 40x40x20 cm travel in X-Y-Z axis respectively). So about 60% smaller than that big one. Also planed projects are improvements in my USB CNC controller and it’s software, as well as some more tools to complement the spindle and the extruder.

    Bellow you can find some pictures of during the construction and the finished product, as well as a video with the device cutting some letters on corian.

    modnc image modnc image modnc image modnc image

  4. Poor man’s lathe

    Date:
    Tags: DIY CNC Hacking

    A couple of days ago, I needed to cut 2 pieces of 8mm OD steel shaft, in order to make the Z-axis guides for my CNC Mk3.

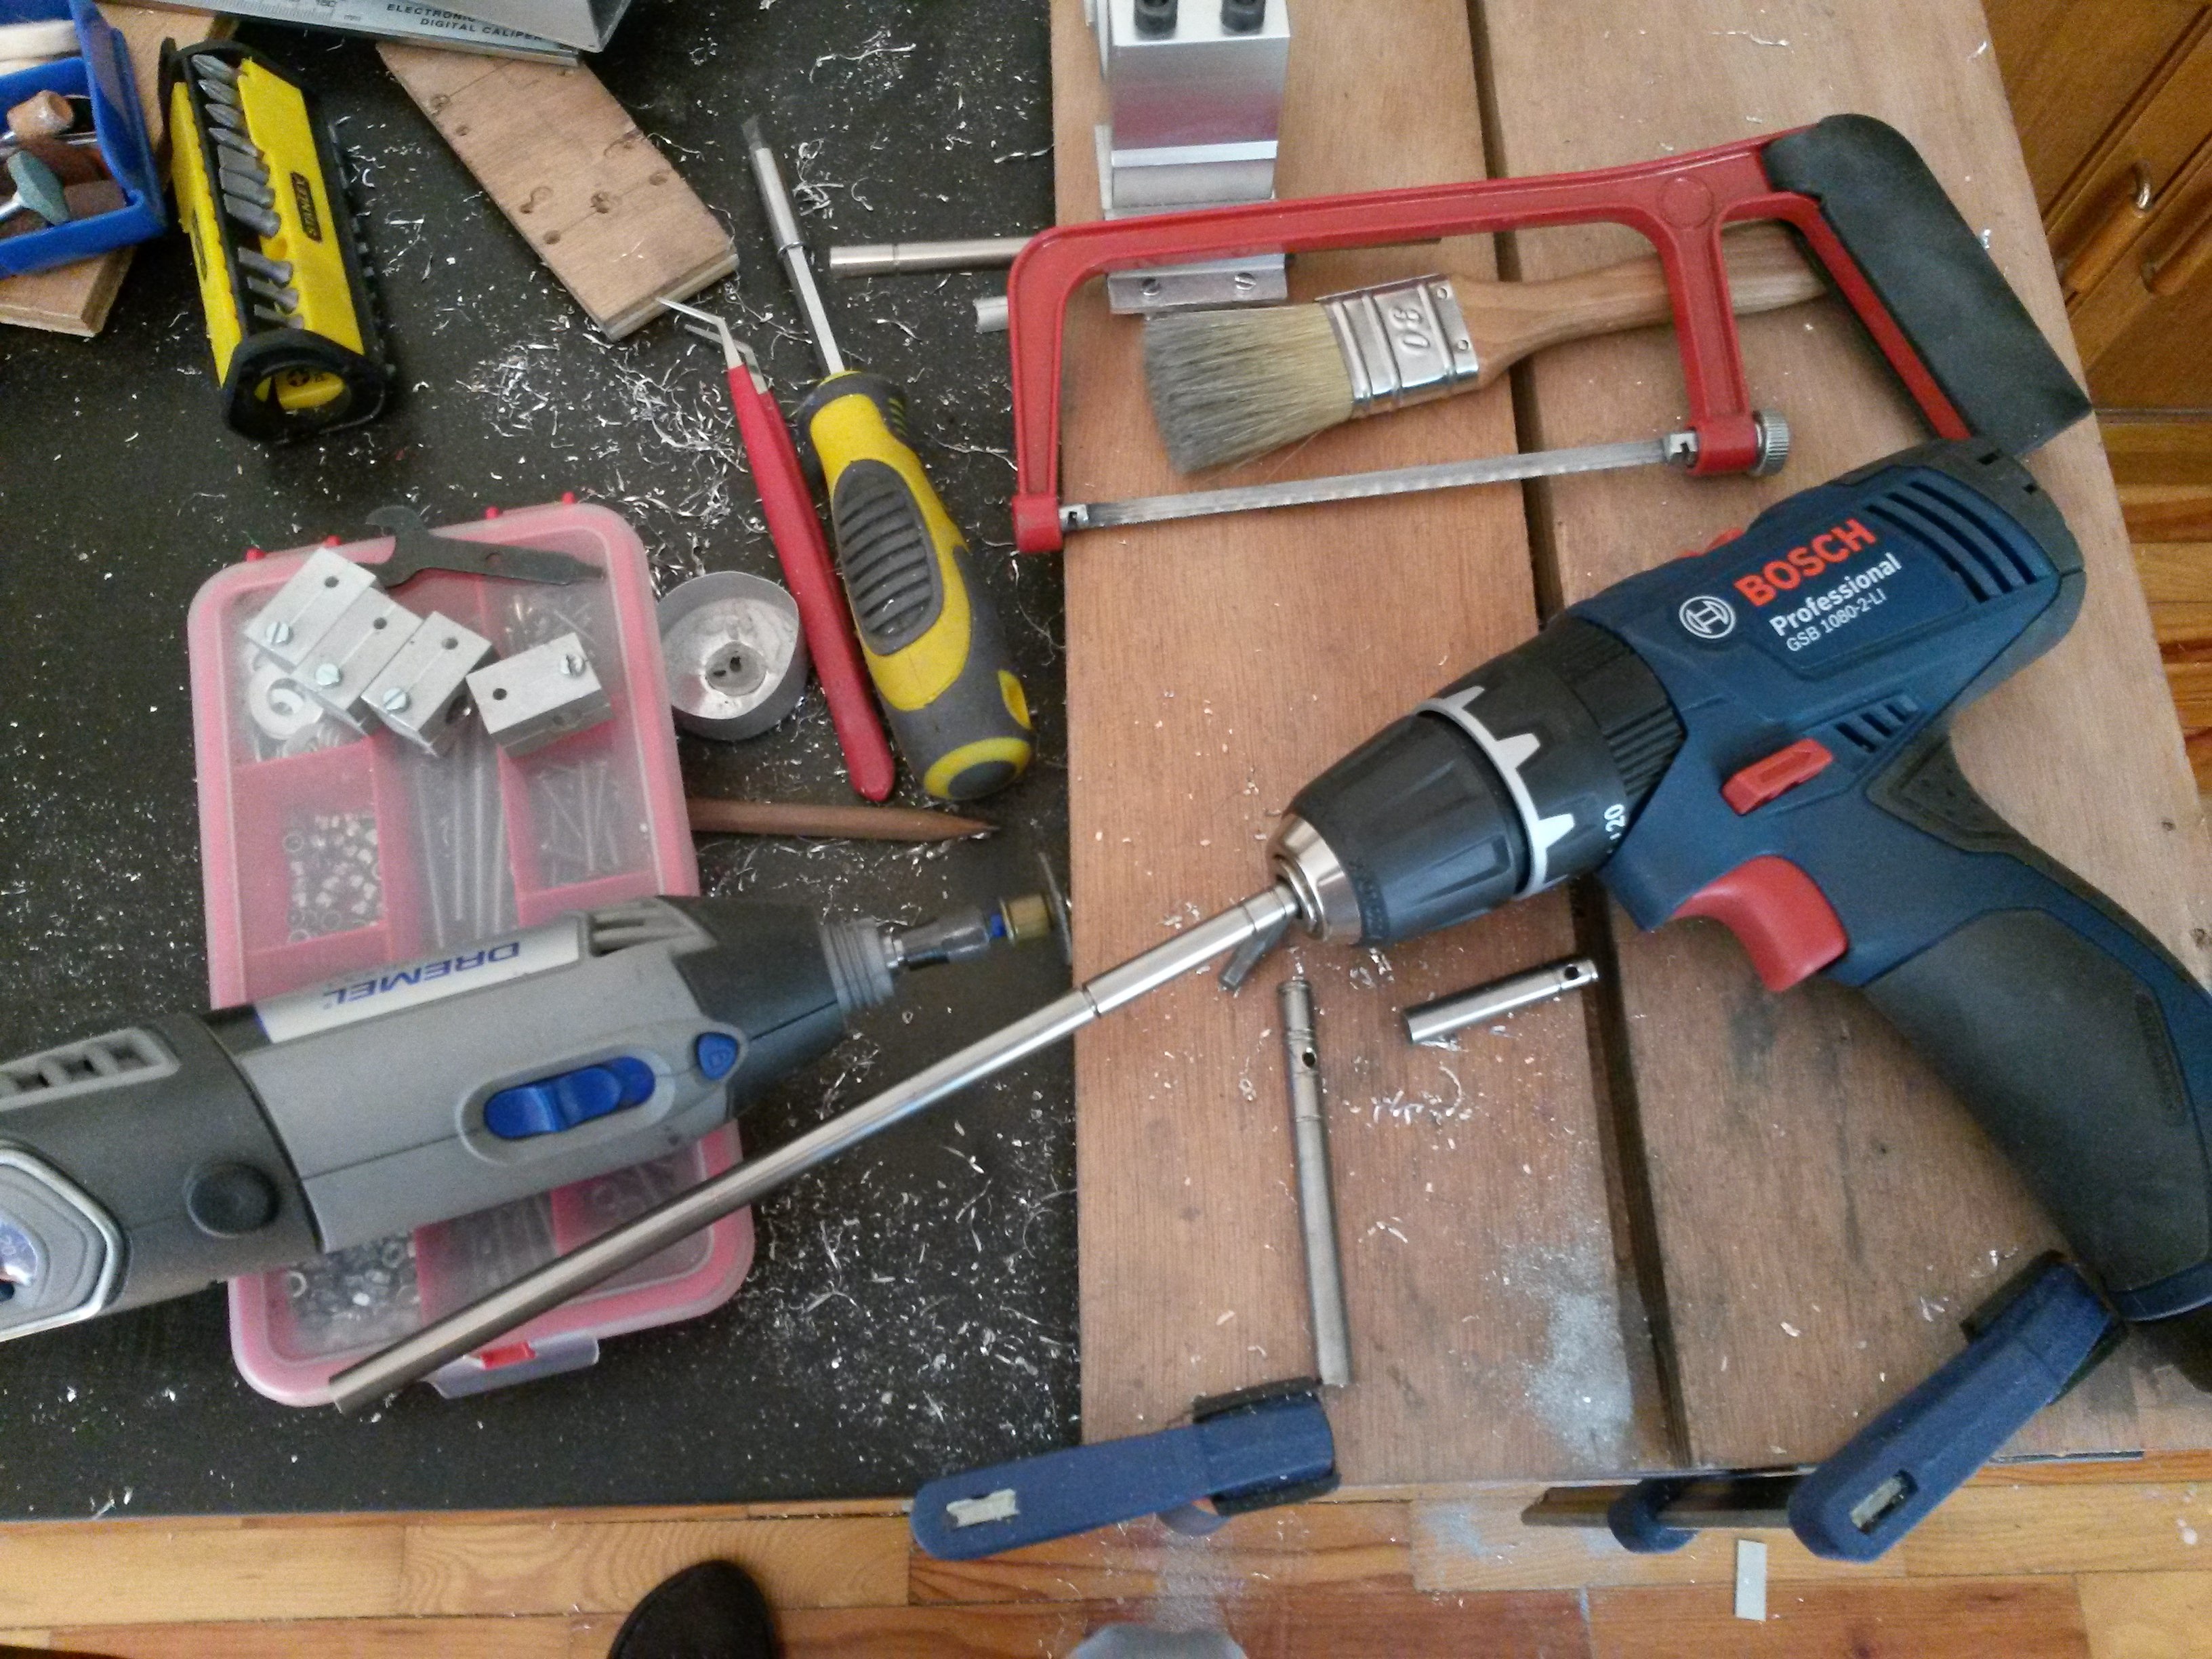
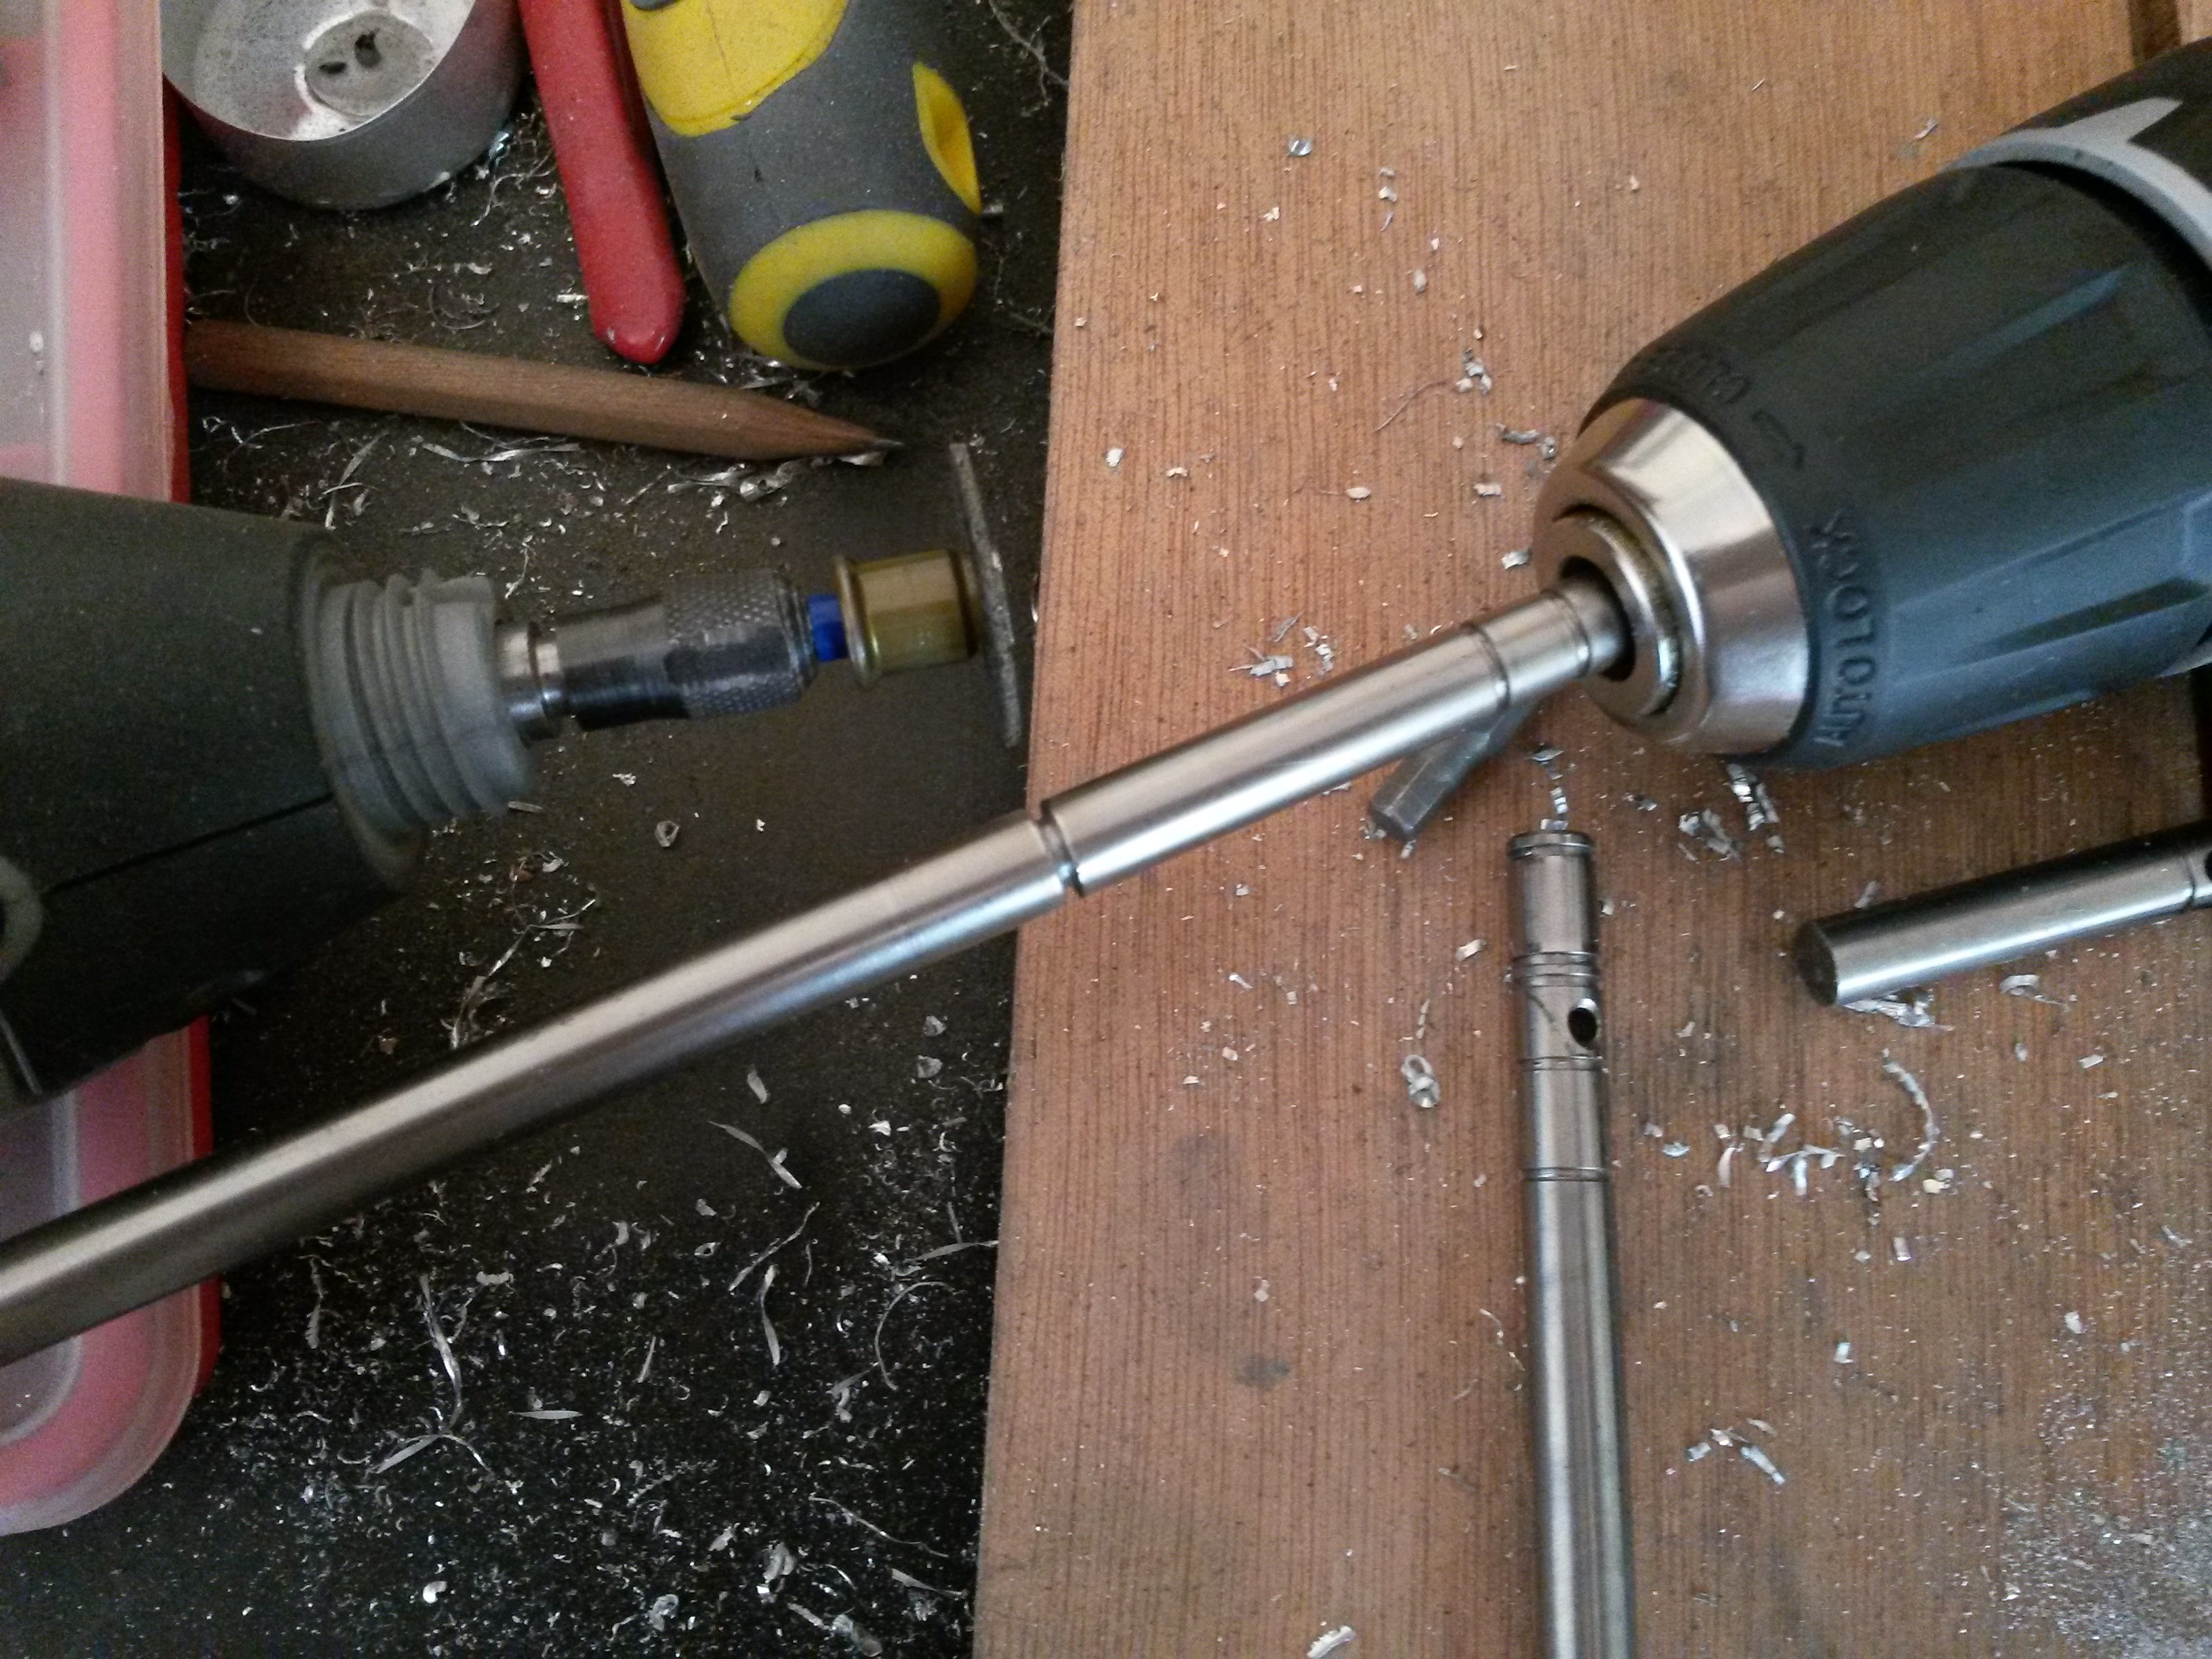
    I could probably cut them using the hacksaw or even by using just the dremel with a disk cutter. I indeed used the dremel with a disk cutter, but in conjunction with that, I decided to put the steel rod on my cordless drill and spin it while cutting it. Just for the fun of it and to make the cuts as straight as possible.

    The result was as expected! 🙂

    modnc image modnc image

  5. Making of a 8mm rod holder

    Date:
    Tags: DIY CNC

    Making of a 8mm rod holder Posted on November 7, 2015 8:02 pm Edit This Categories: CNC,DIY

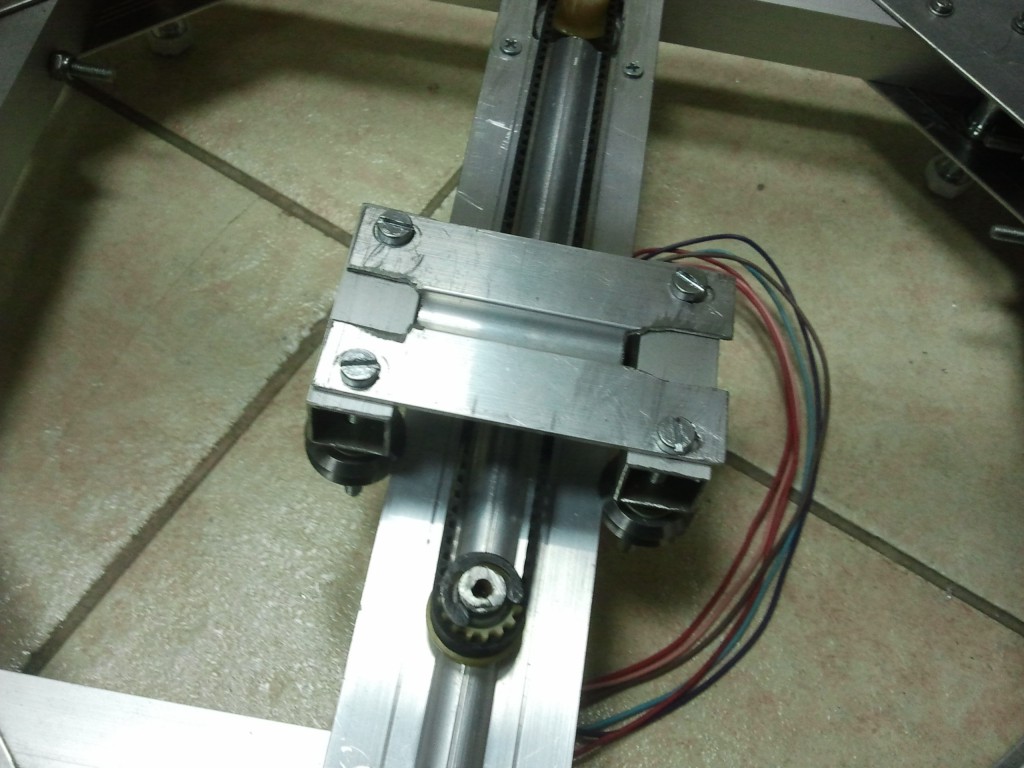
    One of the upgrades I am making to my CNC is the change of the linear guide system, from a edge track with V-groove bearings like the one shown in Picture1, to a 8mm steel rod with LM8UU linear bearing.

    old linear guide Picture1

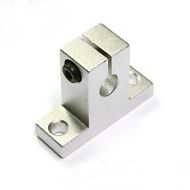
    The 8mm steel rods serve as the track for the LM8UU linear bearings and need to be secured to the CNC usually from their two ends. Given that the 8mm rods are have a round “profile” it is not easy (or nice) to just drill them and secure them with a screw. Instead they need some kind of a holder Like the one in Picture2, which is screwed on the frame and then the the 8mm rod is attached to them. You can buy one of these from ebay for a couple of EUR, but that has two disadvantages, first that you will have to wait several days for them to get delivered and second and most important…you loose all the fun of making them yourself. Although it is not too much fun if you don’t have the right tools (like a descent standing drill for example).

    8mm rod holder Picture2

    So anyway, I decided to design and build my own holders, despite the lack of any standing drill in my toolset. The initial design is shown in Picture3. In the design you can see a large 8mm hole, where the steel rod is inserted. There is a cut parallel to the 8mm hole, which allows the hole to be tightened using a screw, in order to tightly secure the steel rod. On the left side of the image you can see where that screw is fitted. The bottom half of that hole is threaded (M3 size thread). The other two holes on the right of the picture 3 are for fastening the holder on the frame.

    part Picture3

    I made the first 4 holders, which are for the 2 steel rods used for the Y-axis, but later on I decided that I could make the part a bit shorter and get rid of the one of the two holes used for fastening it on the frame.

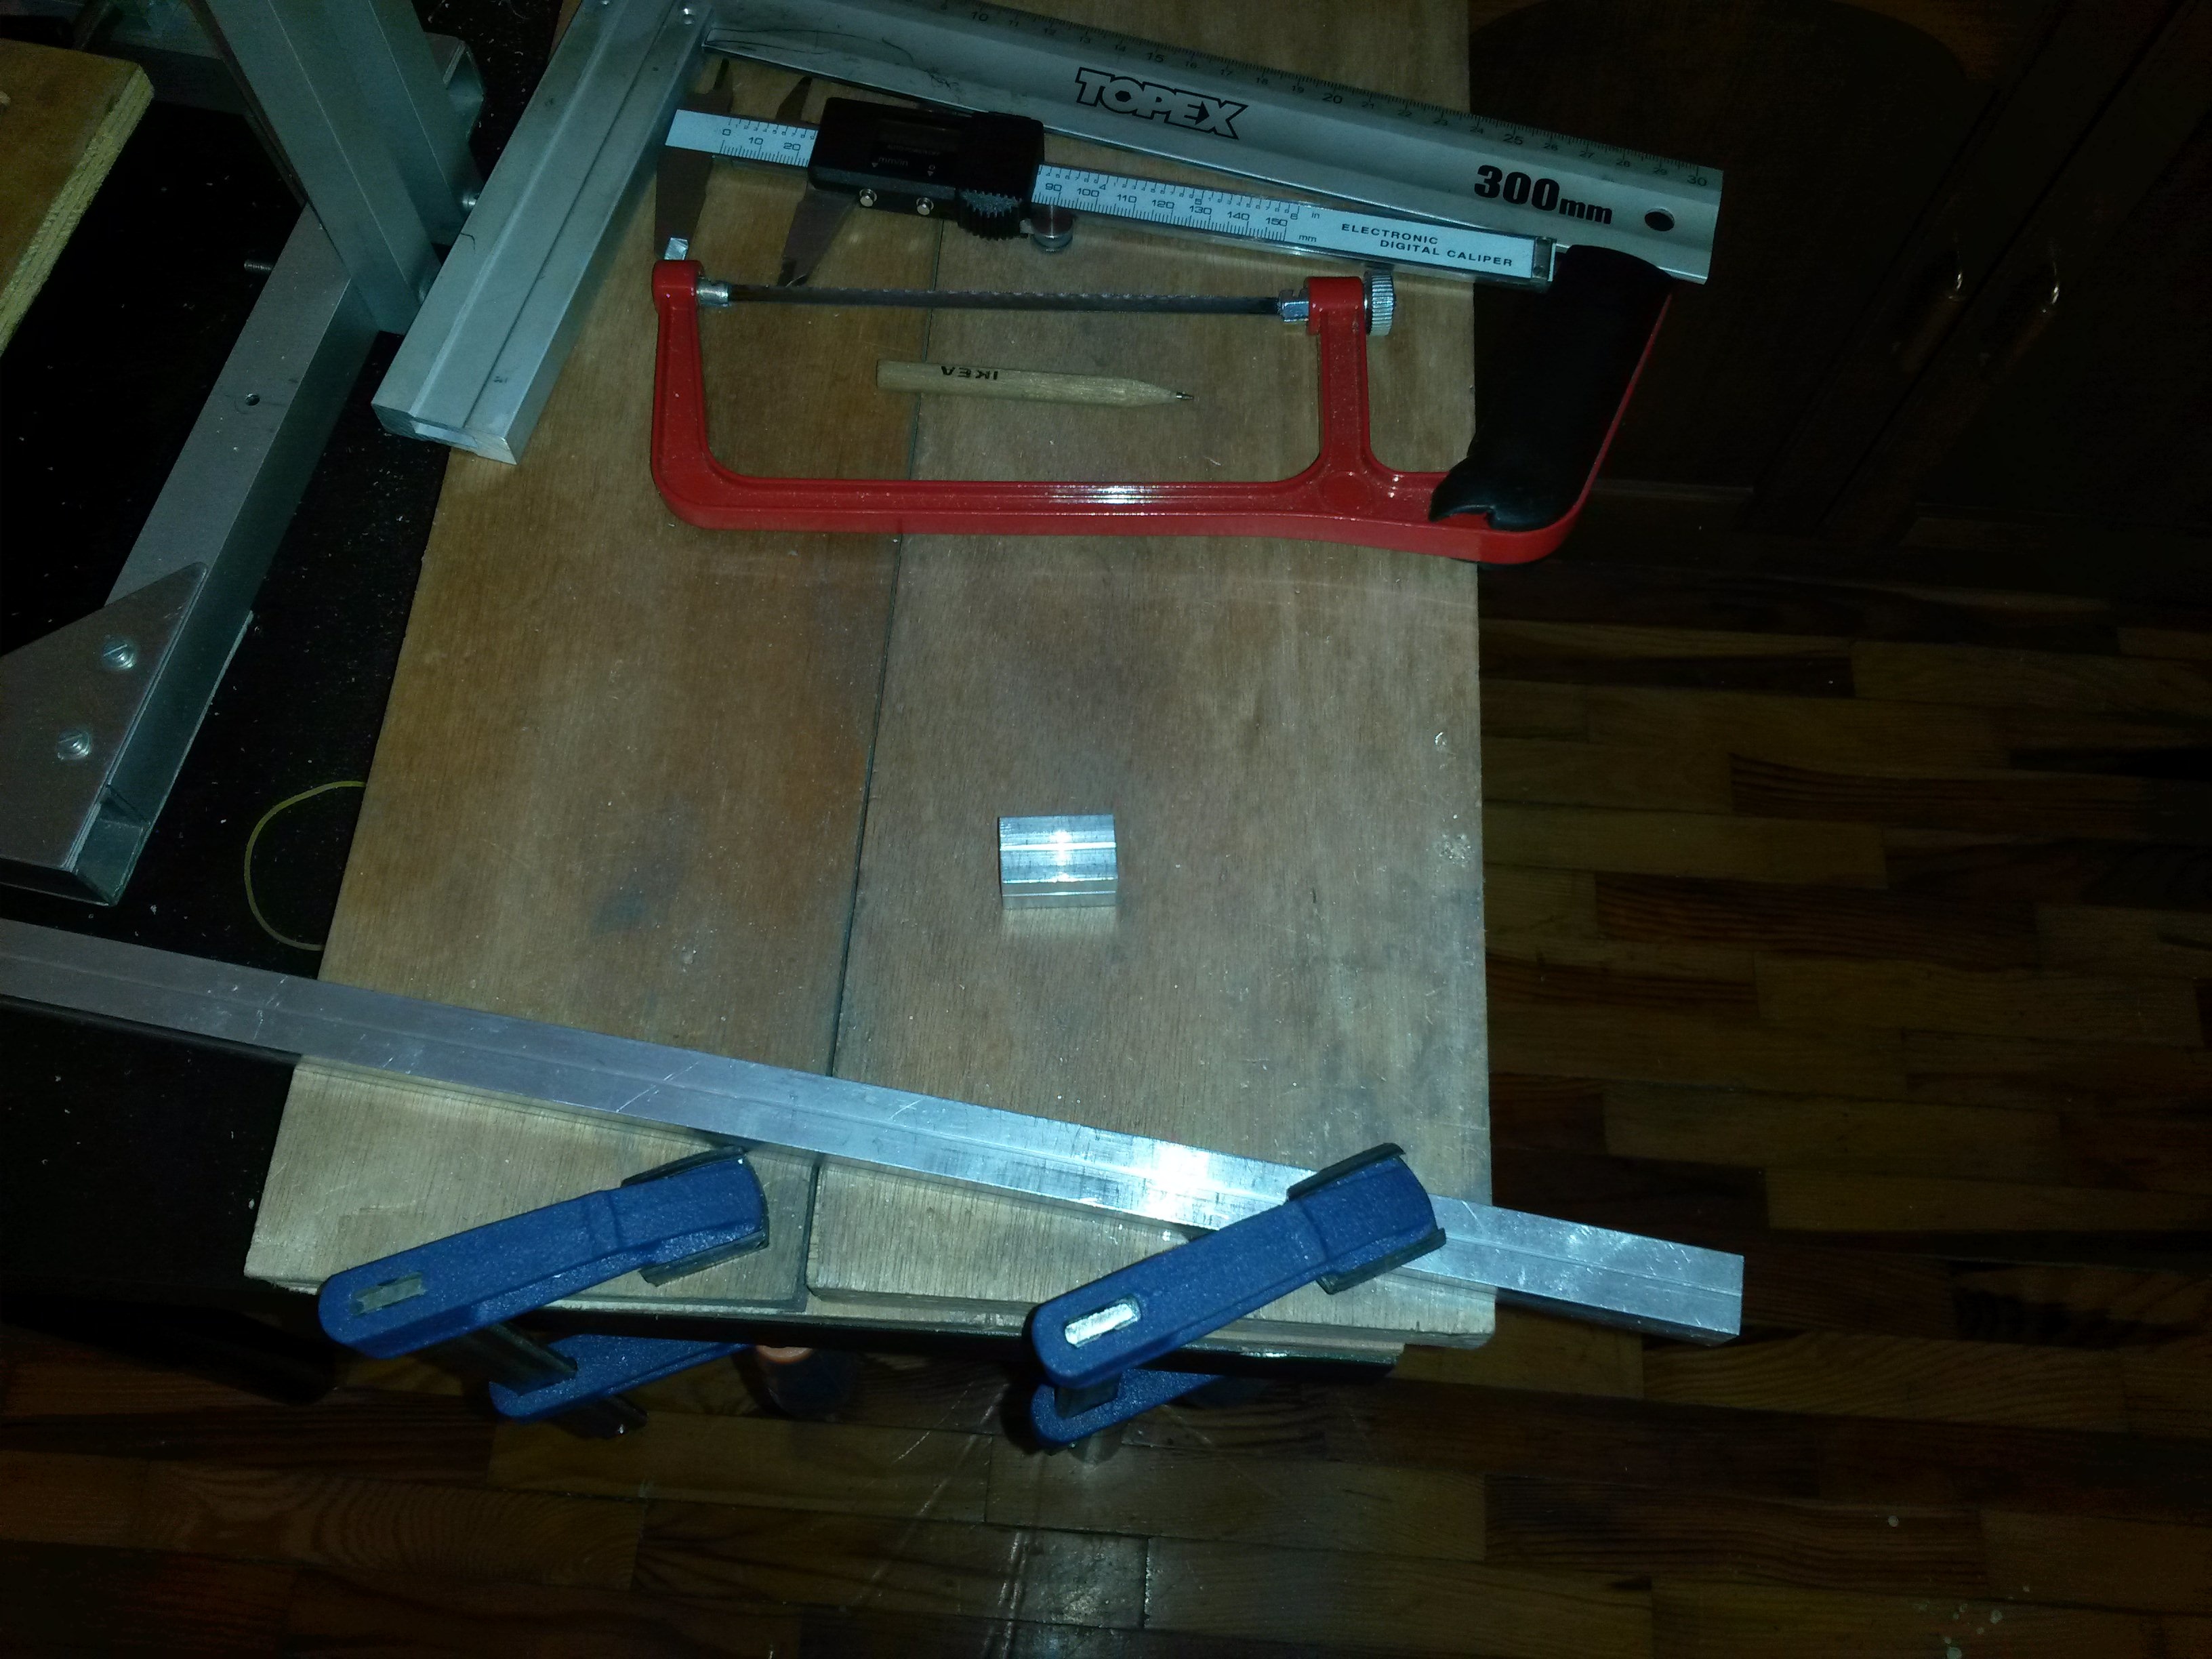
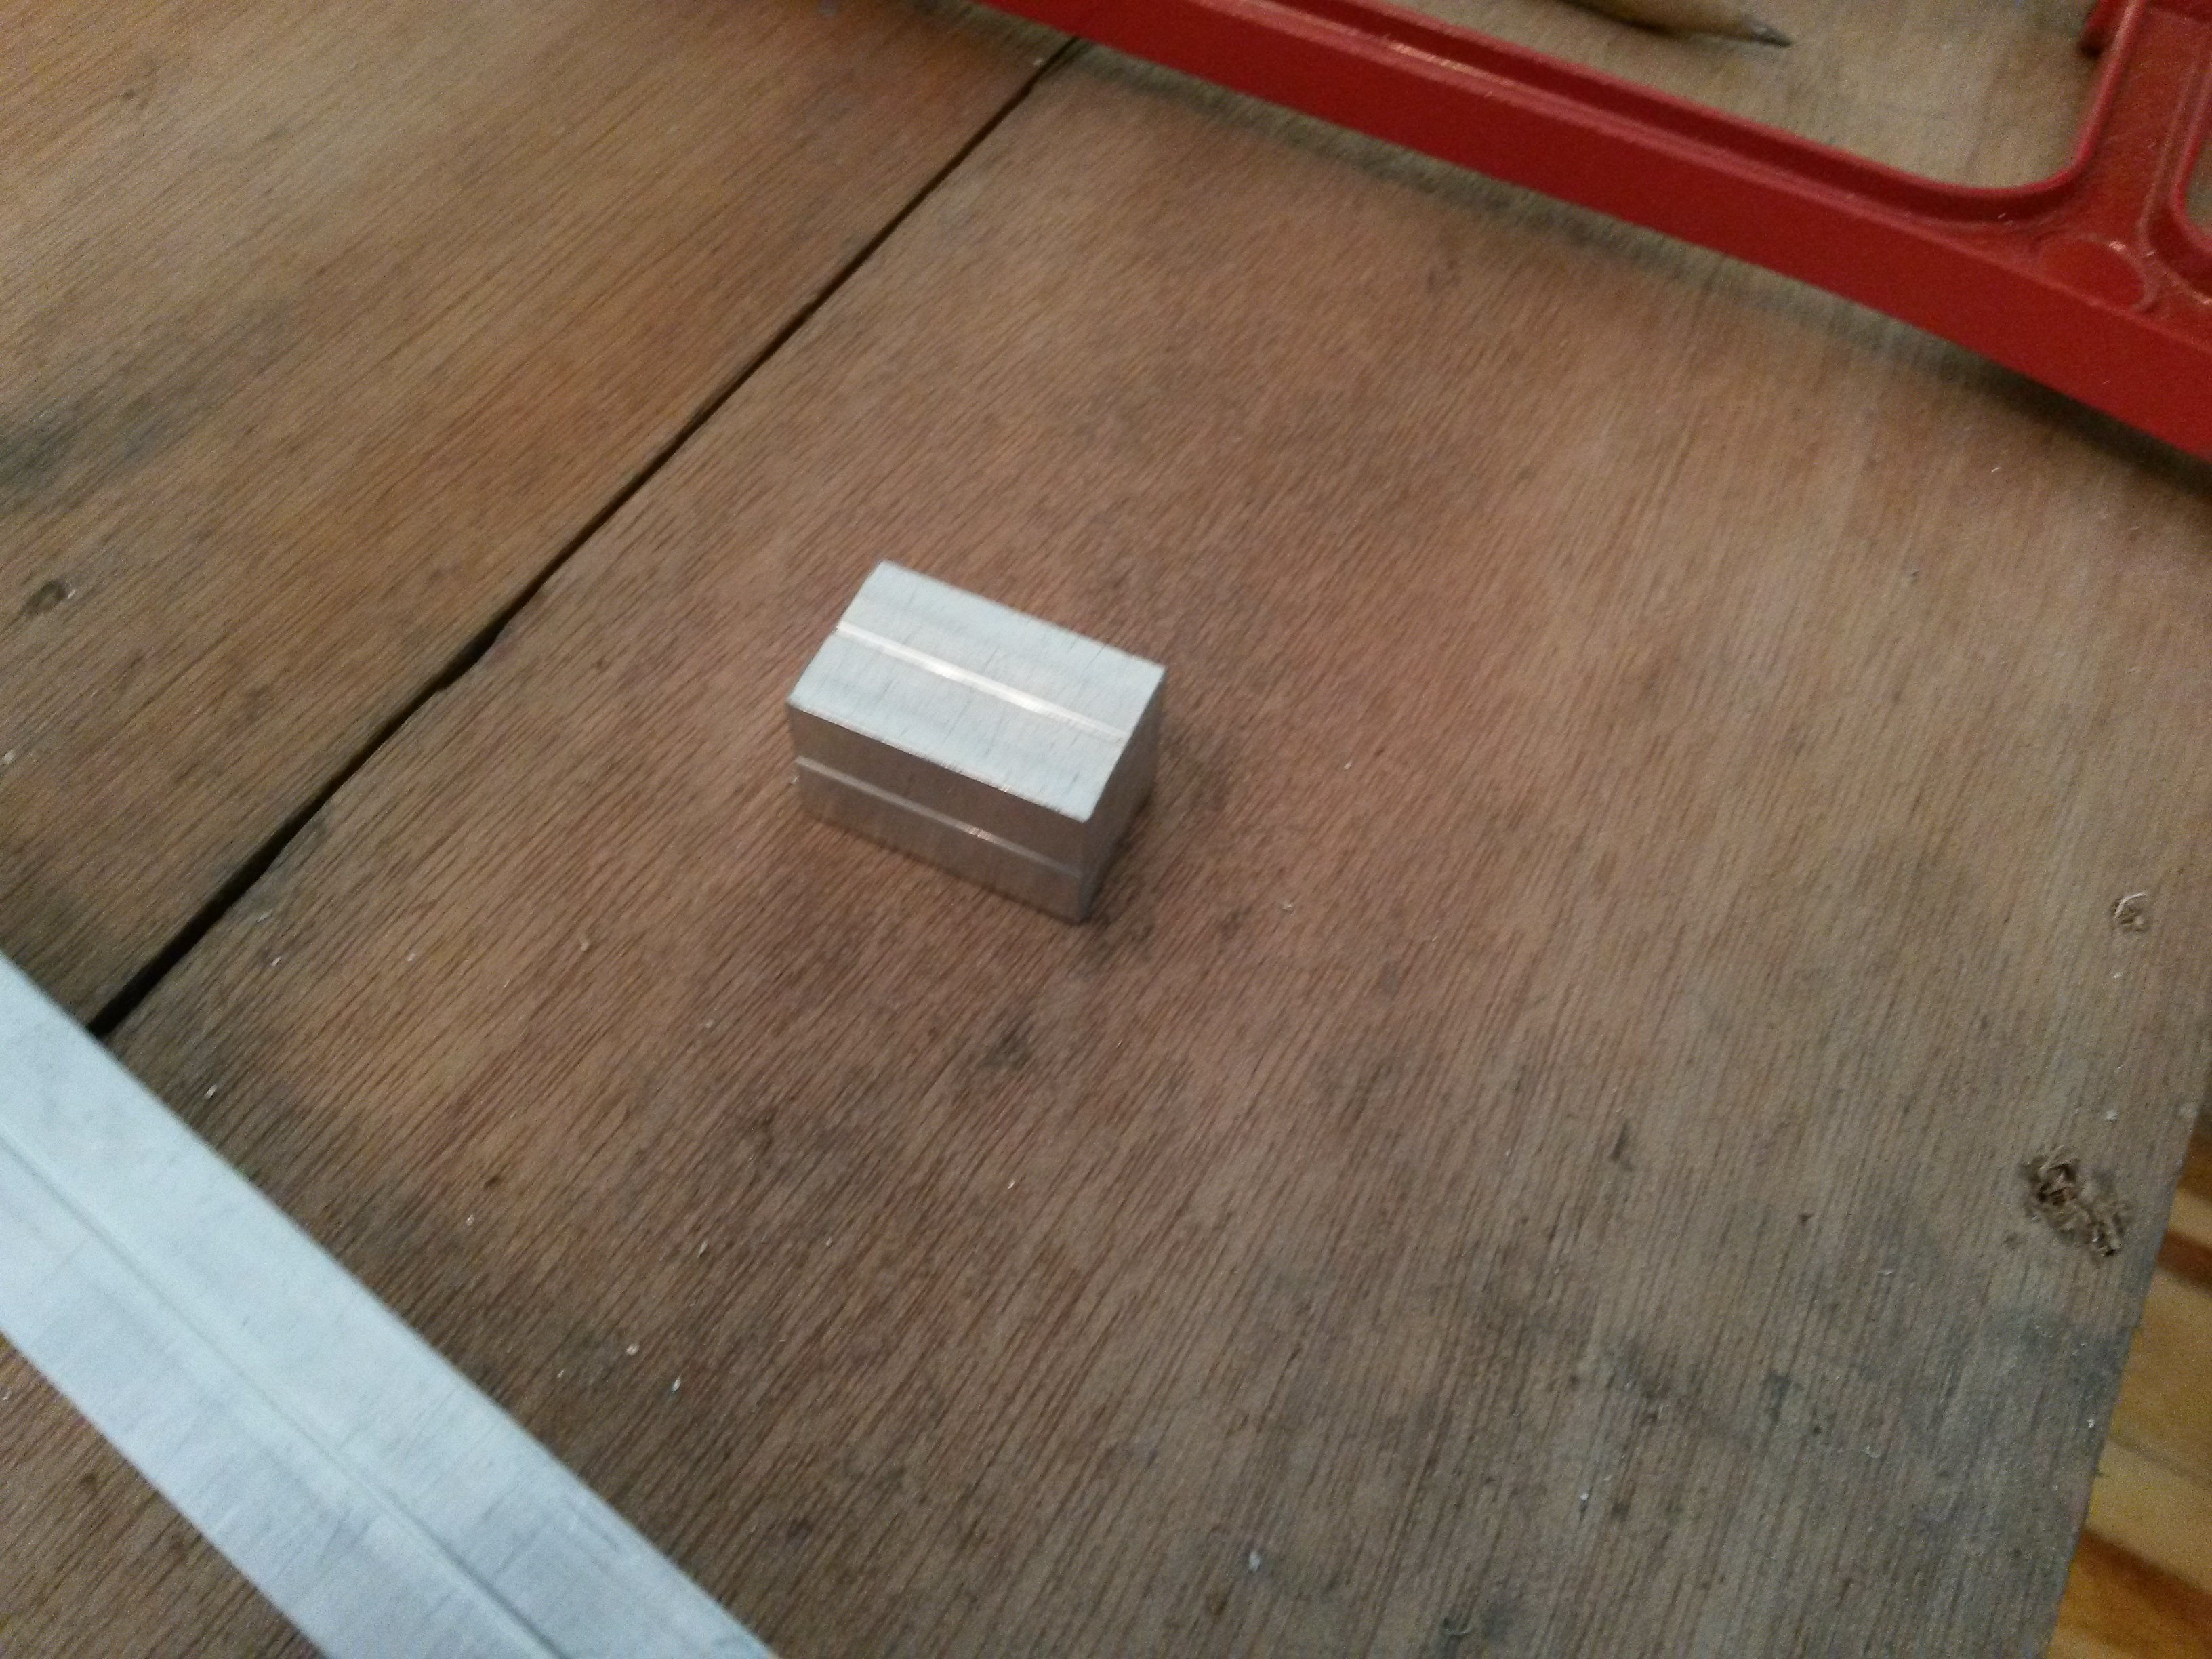
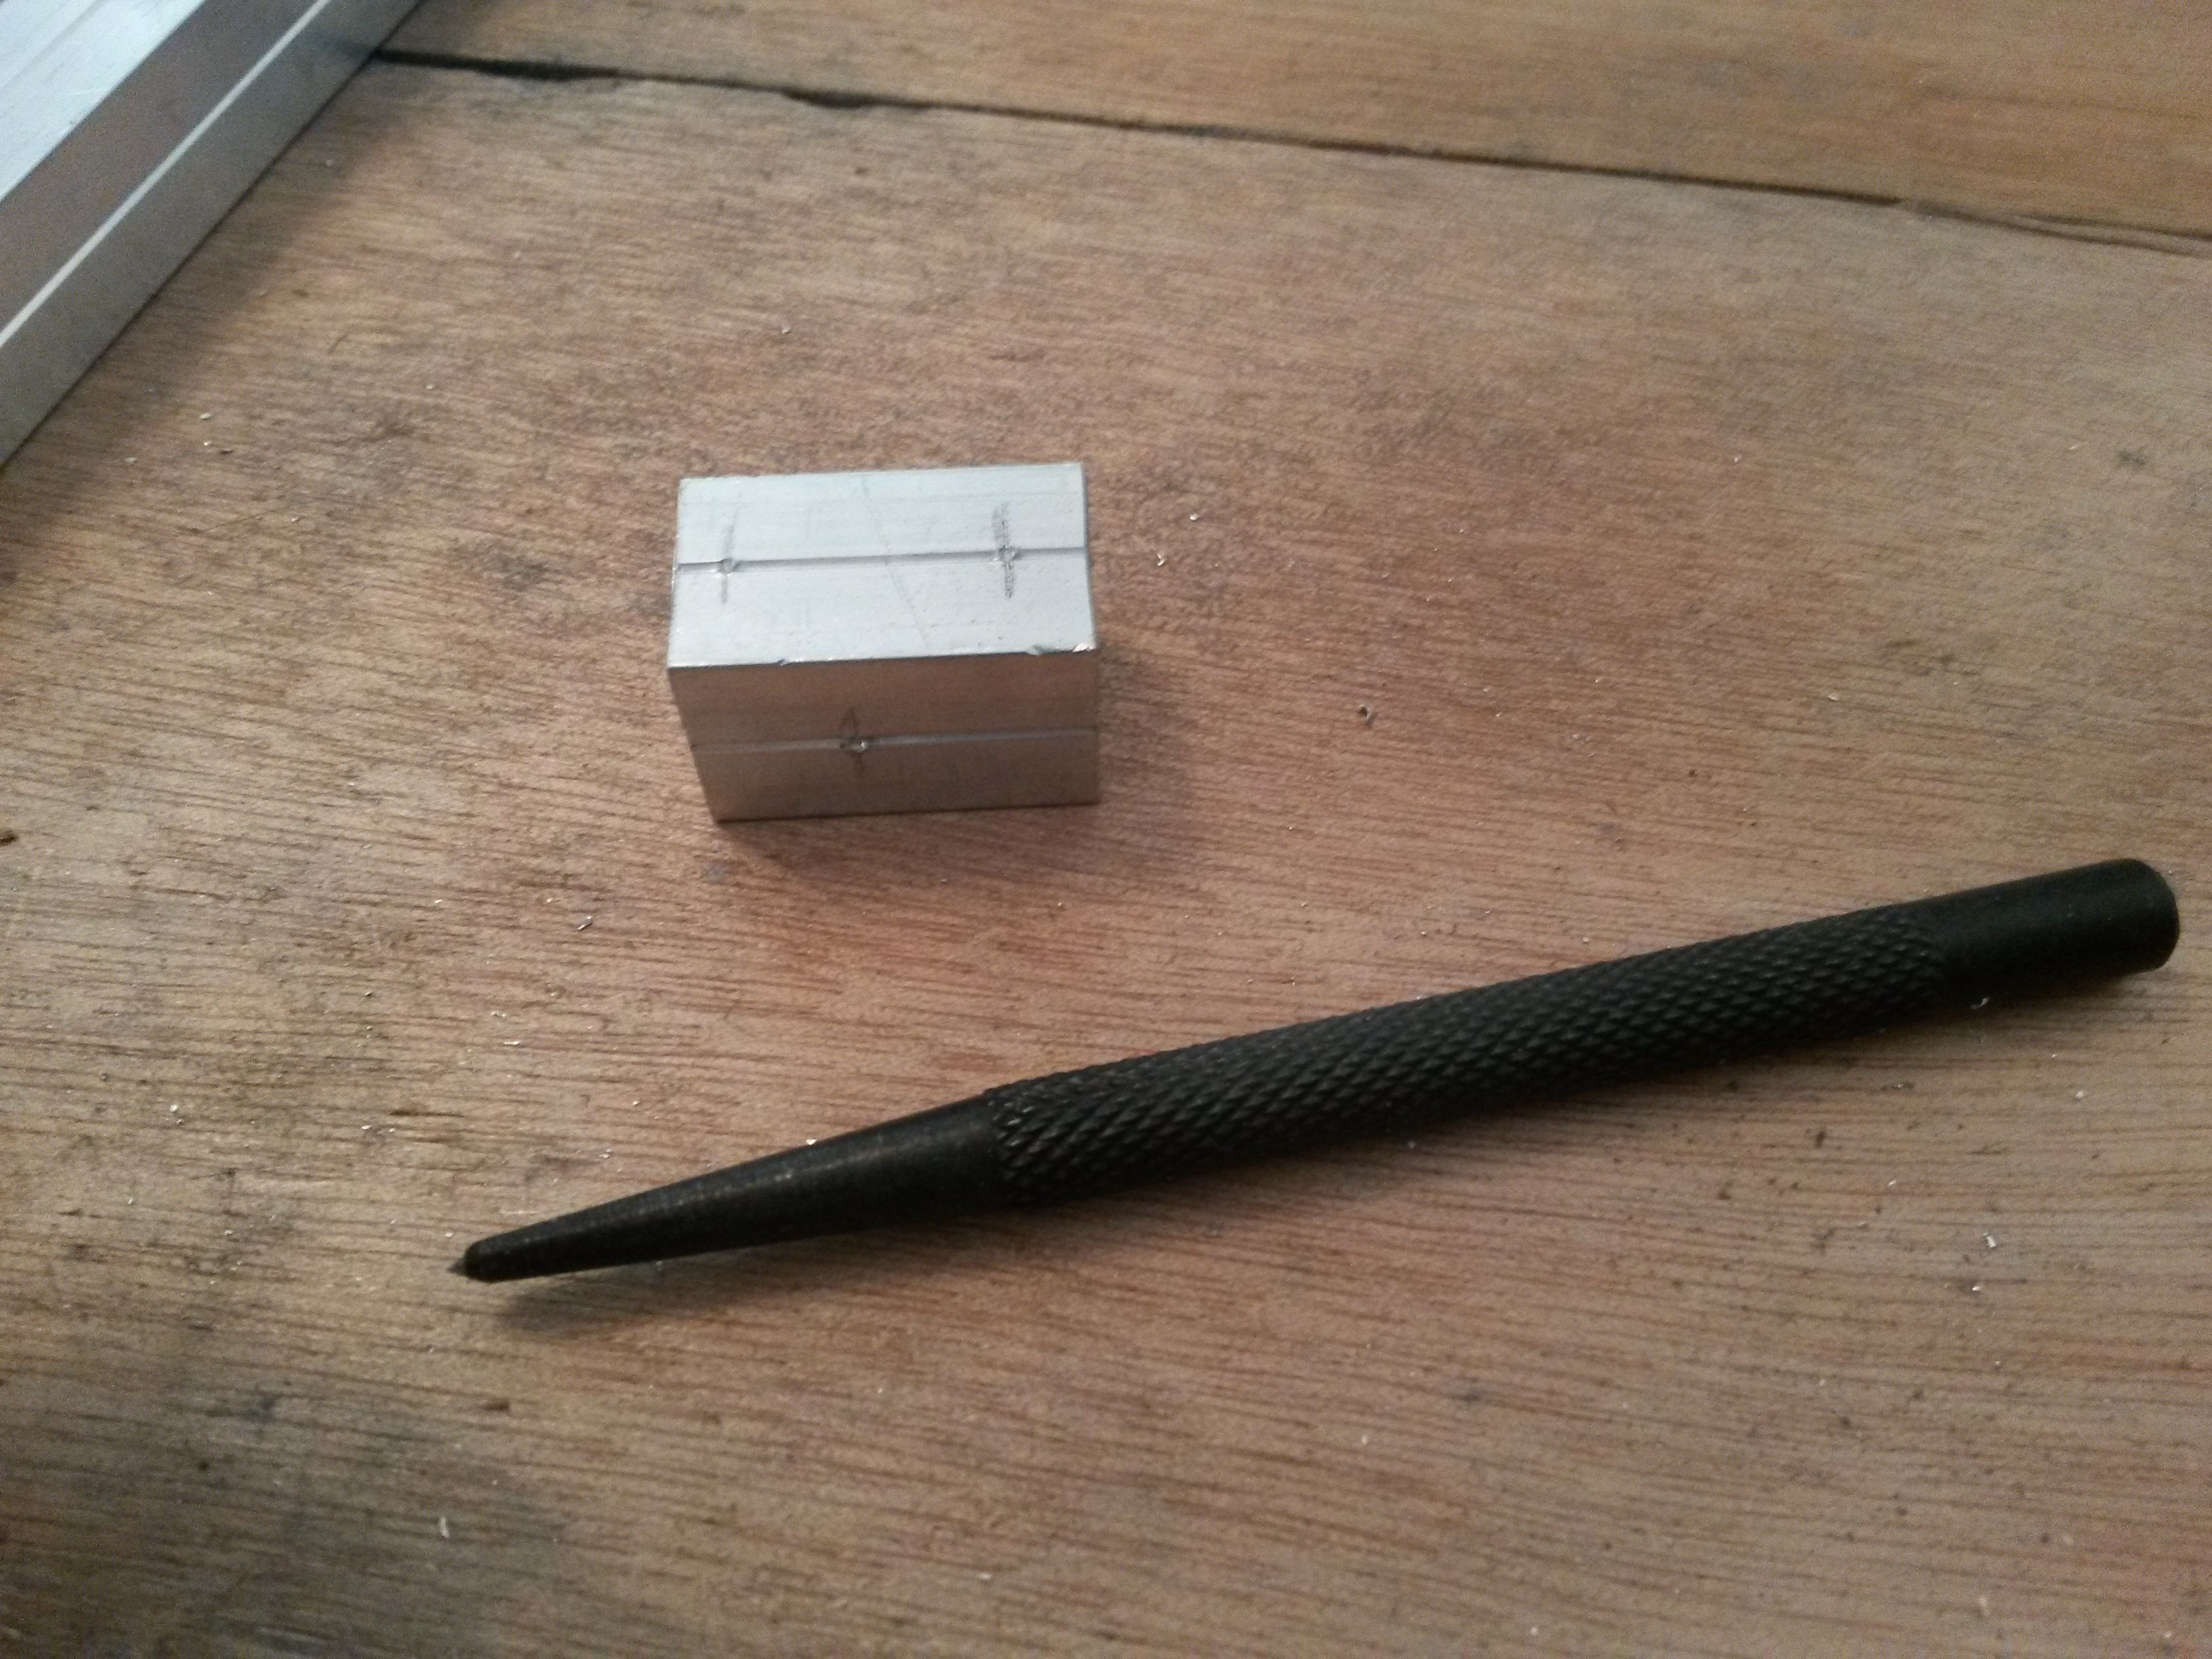
    I start making the part by cutting a 25mm long piece of 15x15mm solid aluminum profile. I use a small saw for metal to do this. Then the centers of the holes are marked with a caliper and pencil and finally with a punching tool.

    cutting raw material 1 cutting raw material 2 cutting raw material 3

    I then use my improvised jig that uses a dremel and a dremel router base, in order to be able to make the holes as perpendicular as possible to the part. Unfortunately the dremel router base is not as precise as I wanted, but the result is acceptable I believe. One of the two handles of the dremel router base is a screw, which allows you to lock it to a certain depth. I noticed that it improves things a …continue

  6. iBook G4 Dual display and clamshell mode

    Date:

    Lately I wanted to connect an external monitor to my iBook G4 and use it for dual display. I have already found a nice utility called “Screen Spanning Doctor” which seems to be reconfiguring something in the OSX and the Firmware(?) of the computer and allows you to use external monitors for dual display.

    When you apply this configurations with the above utility, you are also able to set the resolution of the external monitor to something higher than 1024×768. Which is great also. My problem was that when I connected a monitor that supported 1280×1024 for example, I was not able to set the resolution to this setting. In spite that the iBook was giving me this option. I tried that with a Philips and also a Samsung TFT display, as also with a cheap CRT display. After some search in the net, I found that some guys where able to do that with some Dell displays. While there where too few sites referring to problems like the one I had.

    Another thing I noticed was that many people where trying to work with their iBook in what is called “clamshell mode”. Working with the laptops lid closed. Any iBook user knows that when you close the lid the computer goes to sleep. And there is no option to disable that in OSX. Though there are some tricks that may work and some of them are applied from this “Screen Spanning Doctor” utility.

    So here is my approach to clamshell mode: Before a couple of months my iBook’s hard drive failed. I bought a new one and I disassembled the iBook to replace the failed HDD. Everything went OK. But as always I forgot something. What I forgot to put was a tiny magnet! Which was located under the position where the “left arrow” key is. Under the upper metal cover of the inside of the laptop. This metal cover is what you see if you lift up the iBook’s keyboard. Apple has this magnet there as a replacement for one of the screws that keep in place this metal sheet and also to activate the “sleep switch”, which is located behind the TFT screen. Indeed in this generation of the iBook, if you take a magnet and wave it in front of the TFT screen (warning don’t scratch the screen 🙂 ), you will see the iBook going to sleep :).

    So my iBook is now an insomniac :D.

    Anyway, DON’T TRY THIS AT HOME! YOU MAY DESTROY YOUR IBOOK. Not that I care…but…